
Last Updated: October 30, 2026
Quick Summary
To maintain car exterior condition, wash every two weeks with a two-bucket method: rinse first, wash top-down in shade with a microfiber mitt, and dry fast with a microfiber towel. Keep a wax, sealant, or ceramic coating layer on the paint and remove bugs, sap, and droppings the same day.
- Use a dedicated car wash soap, not dish detergent, which strips wax and dries out trim.
- Wash wheels and tires last with separate tools, never reusing your paint mitt on tires.
- Wax lasts roughly 4 to 8 weeks; polymer or SiO2 sealants last roughly 3 to 6 months.
- Decontaminate two to four times a year with iron remover, then clay, then fresh protection.
- Reapply protection when water stops beading tightly and starts sheeting flat.
Table of Contents
- Start With a Two-Bucket Wash to Protect the Paint Finish
- How to Clean a Car Exterior at Home Without Scratching It
- How Often to Wash a Car in Different Seasons and Climates
- How to Dry a Car Without Water Spots
- How to Protect Car Paint Between Washes
- Decontaminate and Detail Trim, Glass, and Hard-to-Reach Areas
- Build a Weekly Exterior Maintenance Checklist That Fits Your Routine
- Frequently Asked Questions
Start With a Two-Bucket Wash to Protect the Paint Finish
Learning how to maintain car exterior condition starts with one habit: stop dragging dirt across the paint.
Grit trapped in a single bucket acts like sandpaper on every pass; a rinse bucket gives it somewhere to settle.
Worried a tunnel wash might scratch your paint? Our guide on whether express car wash is safe explains how modern equipment protects the finish.
Here’s the setup in plain terms:
- Bucket one: car wash soap mixed with water
- Bucket two: plain water for rinsing the mitt
- Wash mitt: microfiber, never a sponge
Use a dedicated car wash soap, not dish detergent. Dish soap strips wax and dries out trim over time.
How to Clean a Car Exterior at Home Without Scratching It
The safe home wash follows a fixed order: rinse, wash top-down, then handle the dirty parts last. Skipping the rinse is the most common mistake, loose dust and road grit must come off before your mitt touches the surface.
Rinse First, Then Wash From the Roof Down
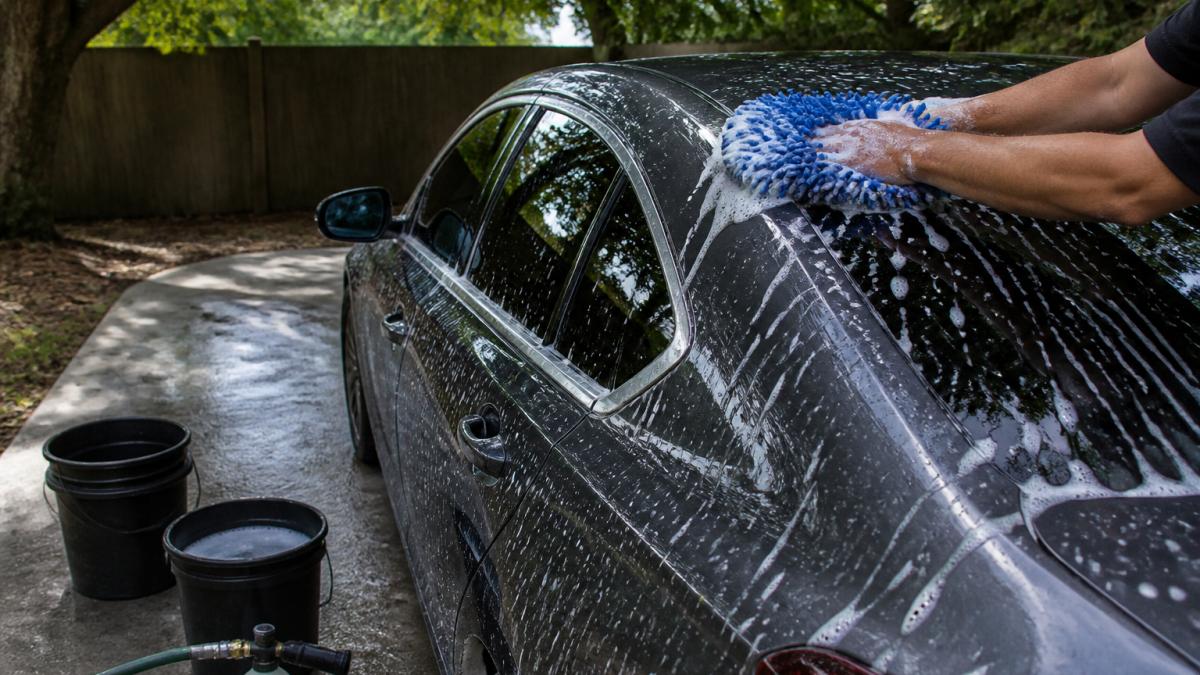
Rinse the whole car with a hose or pressure washer to knock off loose dirt. Then work top to bottom: roof, windows, hood, upper doors, lower doors, then rocker panels. Dirt runs downward, so washing low areas first re-contaminates clean panels.
Work in straight lines, not circles. Circular motions are the classic swirl-mark generator. Keep the car out of direct sunlight so soap doesn’t dry before you rinse it.
Tackle Wheels, Tires, and Stubborn Contaminants Last
Wheels carry the most brake dust and grime. Save them for the end, and use a separate bucket or a dedicated wheel brush. Never reuse your paint mitt on tires.
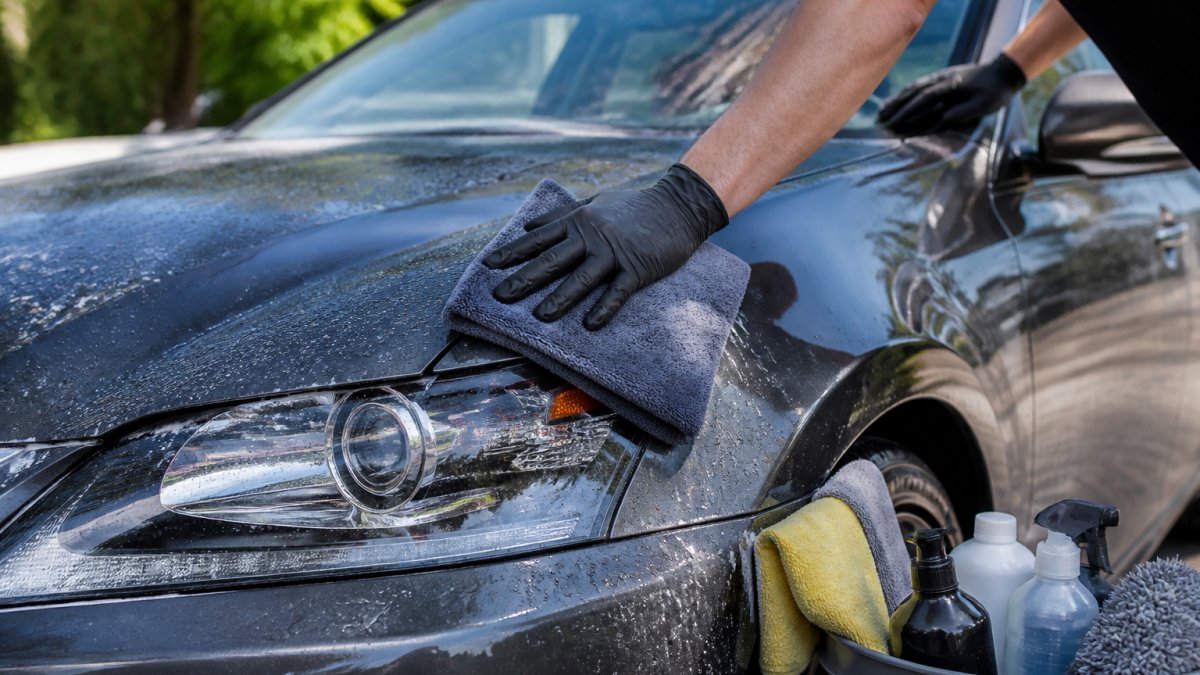
For bug remains and bird droppings, soak the spot with soapy water, then lift it gently with a microfiber towel. Picking at dried bugs scratches the clear coat.
How Often to Wash a Car in Different Seasons and Climates
A good default is every two weeks, but your climate sets the real schedule. If you prefer an express wash, our article on how often to use an express car wash covers that specifically. Weekly washing makes sense in dusty areas, near construction, or after winter road-salt exposure. In mild weather with covered parking, every two to three weeks keeps the finish protected.
Season changes the risks:
- Winter: road salt and brine cling to lower panels. Rinse the undercarriage and wash more often.
- Spring: pollen coats everything. Rinse it off before it bakes on in the sun.
- Summer: sun and bug splatter dominate. Wash in shade and remove bugs quickly.
How to Dry a Car Without Water Spots
Water spots form when minerals in tap water dry on the paint. The fix is speed and the right towel. Dry the car before droplets evaporate in the sun.
Start at the top and work down with a clean microfiber drying towel. Pat and drag gently, wringing the towel out as it loads up.
Skip a gritty chamois, and never let a wet car air-dry in direct sunlight.
How to Protect Car Paint Between Washes
Protection keeps the paint easy to clean: a coated surface sheds dirt and water, so each wash needs less scrubbing and leaves fewer swirl marks. Keep a sacrificial layer between your clear coat and the road, then renew it before it fails. A membership keeps washes regular and affordable.
Wax, Sealant, or Ceramic Coating: What Each One Does
These three products sit on a spectrum of durability, prep effort, and cost. The right pick depends on how much time you want to spend and how long you plan to keep the car.
| Protection | Typical Durability | Prep Required | Application Effort | Relative Cost | Best For |
|---|---|---|---|---|---|
| Carnauba or synthetic wax | Weeks (roughly 4-8) | Wash and dry | Low, wipe on, haze, buff off | Low | Quick DIY shine, cars kept in a garage |
| Polymer or SiO2 sealant | Months (roughly 3-6) | Wash, dry, ideally clay | Medium, apply thin, level, cure | Moderate | Most daily drivers wanting longer protection |
| Ceramic coating (consumer-grade) | 1-3 years | Wash, decontaminate, clay, sometimes polish | High, panel-by-panel, controlled cure | High upfront | Long-term low-maintenance finish |
| Professional ceramic coating | Several years | Full paint correction and decontamination | Very high, applied by a trained installer | Highest | New or well-kept cars where finish matters |
Durability ranges are typical, not guaranteed. Heat, sun, road salt, and wash frequency all shorten the life of any protection layer.
How to Choose the Right Protection for Your Situation
Use these questions to narrow it down:
- How often will you reapply? Monthly: wax. Once a season: sealant. Years between applications: a coating.
- How much prep can you do? Wax and most sealants go on over a clean, dry surface. A ceramic coating needs a decontaminated, often polished surface, applying it over bonded dirt or swirls locks those defects in.
- What is your parking situation? Covered parking extends the life of every option. Full sun and tree sap push you toward a sealant or coating.
You can layer products. A sealant over a wax, or a spray sealant used as a drying aid, adds a little protection between full applications. Just don’t expect a spray product to match the durability of a dedicated coating.
Application Basics That Determine How Long Protection Lasts
No product performs to its rating if it is applied wrong. The common failure points:
- Prep is everything. Wash, then decontaminate with clay or an iron remover before applying a sealant or coating. Protection bonds to the surface it is given, dirt and old wax block that bond.
- Apply thin. Heavy coats of wax or sealant don’t last longer; they just take longer to buff off and can streak. A thin, even layer is the goal.
- Work in shade on a cool panel. Product that flashes too fast in direct sun is hard to level and leaves haze.
- Respect the cure time. Sealants and coatings need time to crosslink before they get wet. Follow the label, some want 24 hours dry, some less.
- Don’t wash with dish soap afterward. It strips protection. Use a pH-neutral car wash soap.
Between-Wash Habits That Extend Protection
- Park in shade or a garage when you can; UV and heat are the main degraders.
- Wipe bird droppings and bug splatter off the same day, they are acidic and etch clear coat.
- Keep a quick detailer spray and clean microfiber towel in the trunk for spot cleaning.
Decontaminate and Detail Trim, Glass, and Hard-to-Reach Areas
Routine washing removes what sits on the surface. It does not remove what bonds to it. Tree sap, tar, industrial fallout, and brake dust embed in the clear coat and feel rough to the touch even after a wash. Left alone, they oxidize, stain, and can pit the finish. A decontamination step a few times a year, more often in heavy-pollution or coastal areas, keeps the paint smooth and makes every future wash more effective.
How to Identify Bonded Contaminants
Before you buy a product, figure out what you are dealing with:
- Tree sap: small amber or clear raised dots, often on the roof, hood, and trunk. Sticky to the touch when fresh, hard and glassy when old.
- Tar: black or dark brown streaks, usually on lower panels and behind wheels. Smears when you try to wipe it.
- Iron fallout: tiny orange or rust-colored specks, most common on lower panels and near brakes. They show up clearly after an iron remover turns them purple.
The simplest test: after washing and drying, run your fingertips inside a plastic bag over the hood and roof. A smooth surface means the paint is clean. A gritty, sandpaper feel means bonded contamination is present.
Safe Removal: Clay, Iron Remover, and Solvents
Work in this order, because each step removes what the next one cannot:
- Wash and dry the car first. Never clay a dirty surface.
- Iron remover next. Spray on cool panels, let it dwell per the label, and watch for the color change that indicates it is dissolving iron particles. Rinse thoroughly. This step is what prevents claying from dragging sharp metal particles across the paint.
- Clay bar or clay mitt after that. Lubricate the panel with a clay lubricant or soapy water, then glide the clay in straight lines with light pressure. Fold and knead the clay when it looks soiled. If you drop it, throw it away, embedded grit will scratch.
- Tar and sap solvents for stubborn spots. Apply a dedicated tar remover to a microfiber towel, let it soften the deposit, and lift gently. Do not scrape with a fingernail or blade.
- Reapply protection afterward. Decontamination strips wax and sealant, so the paint is bare and needs a new layer.
Aggressive claying on a contaminated surface without an iron remover step is a common cause of fine scratches. If the paint is heavily contaminated, consider a professional decontamination and light polish rather than forcing it by hand.
Trim, Plastic, and Rubber
Black plastic trim, rubber seals, and bumper covers fade from UV and detergent. A trim dressing restores color and slows cracking, but the prep matters: clean the trim with a dedicated cleaner first, because dressing over dirt traps grime. Avoid silicone-heavy dressings on surfaces you might later want to coat, they can interfere with adhesion. For textured plastic, a trim restorer with dye can bring back faded gray trim that a dressing alone cannot fix.
Headlights
Cloudy headlights are oxidized plastic, not dirt. A plastic polish or a headlight restoration kit removes the oxidized layer and clears the lens. Most kits include sanding discs for heavy yellowing, a polish, and a UV sealant. The sealant step is the one people skip, without it, the lens re-oxidizes within months. Apply it and reapply per the label.
Glass
Use a dedicated glass cleaner and a clean, lint-free microfiber towel, inside and out. Two towels help: one to clean, one to buff dry. For exterior glass with bonded water spots or road film, a glass polish or a clay mitt made for glass lifts the mineral layer that cleaner alone leaves behind. For a deeper dive, see our guide on how to remove streaks from car windows for good.
Hard-to-Reach Areas
Door jambs, fuel doors, badges, wheel wells, and the gaps around trim collect grime that spreads to clean panels. A soft detailing brush and a dedicated bucket for these areas keep the dirt contained.
Decontamination is the step most home washers skip, and it is the one that most affects how the paint feels and how well protection bonds. Budget for it two to four times a year, or after any season that leaves sap, tar, or heavy fallout on the car.
Watch out: leaving bird droppings or bug splatter on the paint for days can etch the clear coat permanently. Remove them as soon as you spot them.
Build a Weekly Exterior Maintenance Checklist That Fits Your Routine
A short, repeatable routine beats an occasional deep clean. Here’s a checklist you can run in minutes:
- Rinse loose dirt before washing
- Use two buckets and a clean microfiber mitt
- Wash top to bottom, in shade
Fit the routine to your week. When you’re ready to keep the routine going, browse our wash packages. A quick midweek rinse handles dust, and a fuller wash on the weekend covers the rest.
Frequently Asked Questions
How often should you wash your car?
Most drivers should wash the car exterior every two weeks, and weekly during winter when road salt and grime build up. If you park under trees or near the coast, a weekly rinse helps remove bird droppings and salt film before they etch the paint. Skip long gaps: contaminants bond tighter the longer they sit.
What is the best way to dry a car without leaving water spots?
Dry immediately after the final rinse, before droplets evaporate. Use a clean microfiber towel or a plush drying towel, patting or dragging in straight lines rather than scrubbing in circles. A quick wax cleaner or spray detailer applied while drying adds lubrication and helps prevent streaks. If you wash in direct sunlight, move the car into shade first, because heat speeds up evaporation and leaves mineral deposits behind.
Can automatic car washes damage your car’s exterior?
Remove antennas and check for loose trim before entering a car wash. Remove antennas and check for loose trim before entering.
How do you remove bird droppings and tree sap from car paint?
Act fast. Bird droppings are acidic and can etch clear coat within a day or two. Soak the spot with a quick wax cleaner or soapy water for a minute, then lift it with a soft microfiber towel; never scrape with a fingernail. Tree sap needs a dedicated tar and sap remover or isopropyl alcohol on a cloth, followed by a rinse and a fresh coat of wax. For iron fallout, use a spray-on iron remover that turns purple as it dissolves the particles.
Maintaining your car’s exterior takes consistency, not hours of labor. If your schedule leaves little room for buckets and towels, Heroes Car Wash offers an express tunnel wash that gets your vehicle clean fast. Our express tunnel process, convenient location, and unlimited membership options make regular washing easy to keep up with. Get started with Heroes Car Wash and keep your paint protected wash after wash.
